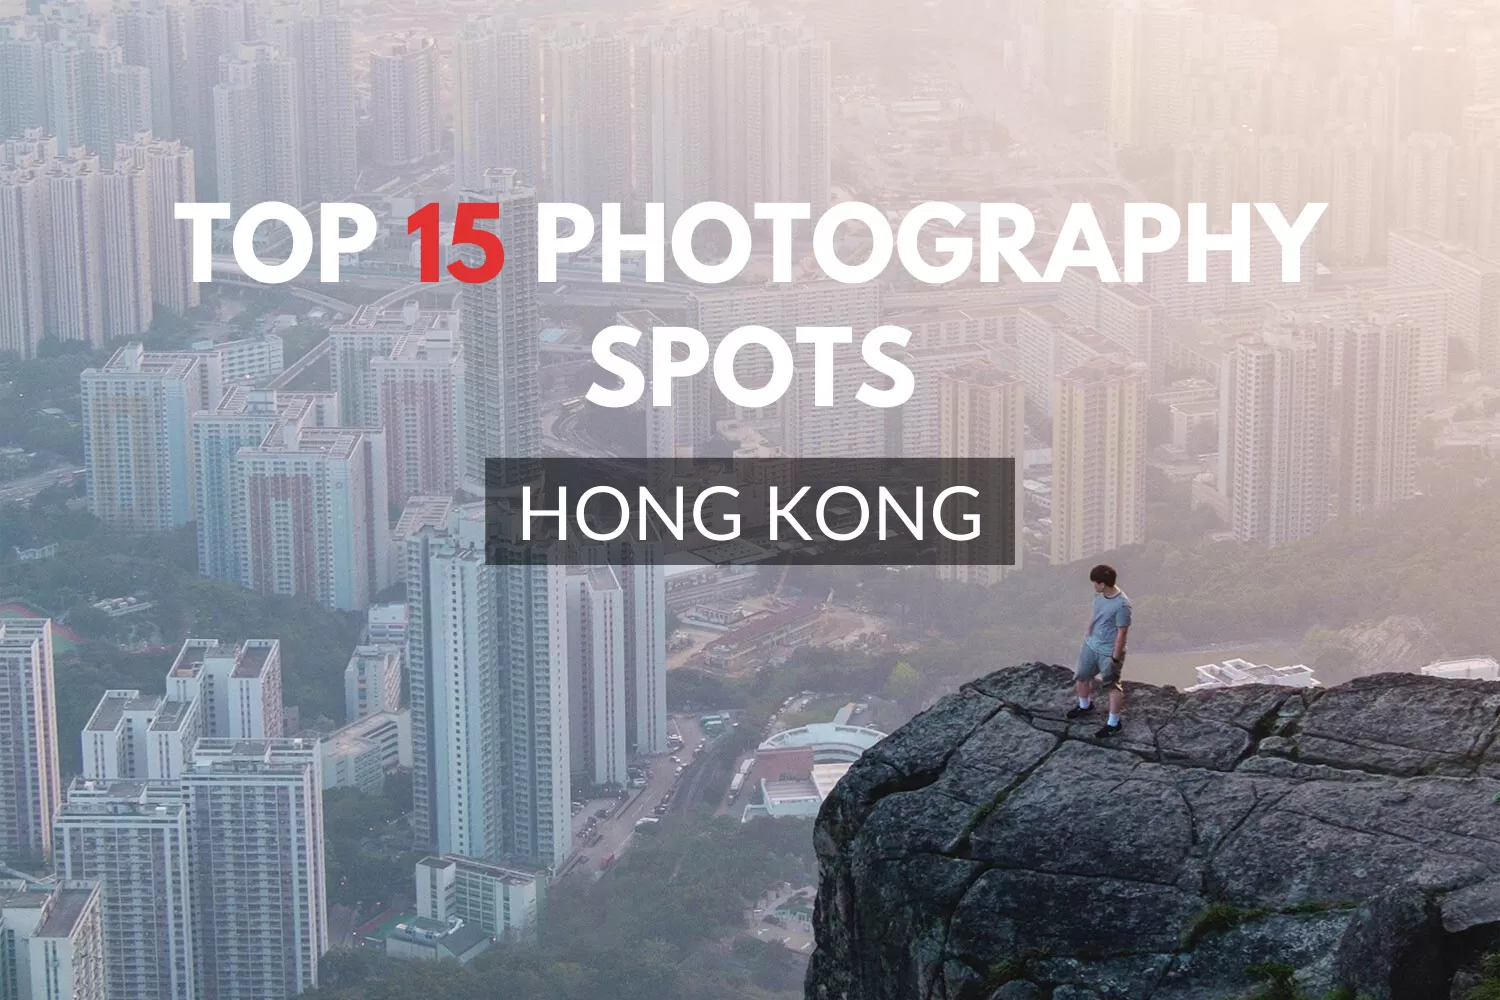
Whether you’re a seasoned photographer or just picking up the camera for the first time, you might find some of these tips useful in helping you improve your travel photos.
We’ve been shooting travel photos since 2015, originally starting off as a hobby before it transformed into a way for us to make a living. As we’re self-taught photographers we’ve made plenty of mistakes along the way, but it’s from these mistakes that we’ve been able to improve our craft. Here are the 9 most important points we’ve learnt which have helped us improve our travel photos and we hope they’ll help you too.
1. Wake up early…very early
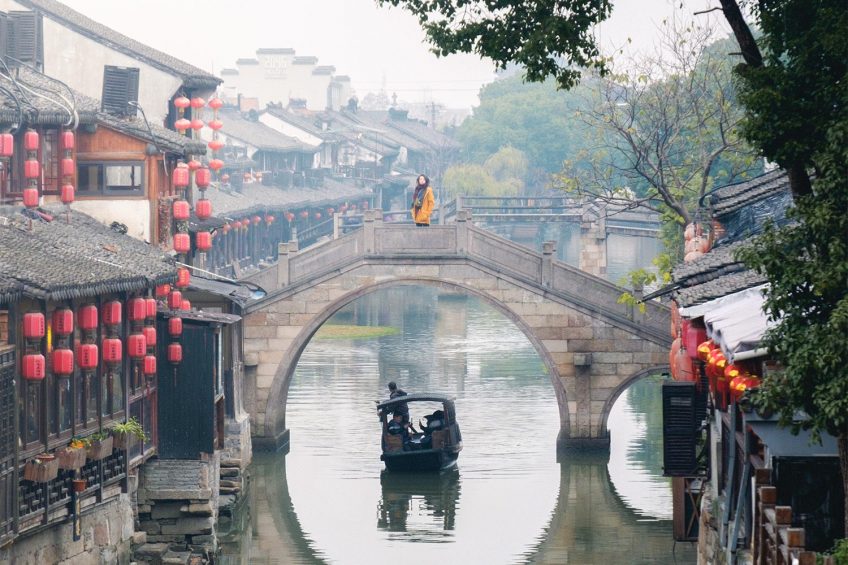
Unless you’re looking to take photos of crowded streets and hoards of tourists, waking up early is the very best tip we could possibly give you. How early is early? Well, this depends on where you’re going, but generally the earlier the better. If you’re visiting the location for the first time, you can do a Google search of the place and along the right side it will usually show the popular times (based on the number of visitors) throughout the week – obviously, you are going to want to avoid periods of high traffic. We typically arrive on location at least an hour before sunrise as this gives us plenty of time to work out where we want to shoot, decide on a composition and set up before other people start to show up.
2. Light is everything
Did you know the word photography derives from the Greek words for “drawing with light”? This indicates just how important light is and why you need to understand light when creating a photo. When shooting do you consider whether you’re working with soft light or hard light? Backlit or frontlit? Mid-day or sunset? Golden hour or blue hour? These are all factors which can hugely affect the final outcome of your travel photos. Unlike photographers who shoot in studios, travel photographers often have to work with what they’re given and it’ll be your understanding of working with the given light which will help you make the most of any situation.
Here are two examples of how understanding light helped us create better photos:
We arrive on location early in the morning but unfortunately it’s cloudy. In light terms, what this means is that we have weak diffused light spread evenly across the scene – in more simpler terms it means flat, desaturated and very little contrast. Things sound bad but you could use this creatively. We look for bold colours which typically stand out more now that the scene has been desaturated, and if you can’t find colours just wear a bold coloured coat. Also, due to the low contrast, you’ll find small details will become much more apparent in your photo, use this wisely as it can create complex images with plenty of visual interests for people looking at your photo.
This time we’re faced with strong sunlight in the middle of the day. Strong light casting directly onto your scene will be very harsh with a lot of strong shadows and highlights – great right? Not always, shooting people in harsh midday light can be highly unflattering as it produces big dark circles around the eyes while emphasizing wrinkles. A quick solution is to just turn the person around and shoot them from behind, pretty much all your problems will be solved.
3. Plan ahead
“If you fail to plan, you are planning to fail” – Benjamin Franklin. There’s nothing worse than scrambling to find a place to shoot while you’re experiencing the most incredible sunset or sunrise. This doesn’t mean you have to plan your day to the tee (although we often find ourselves doing just that) but have an idea of where you want to shoot and at what time of day. Once you’ve made this decision, other activities such as where to eat and what else to do usually fall nicely into place.
4. Patience is key
A wise uncle once told me that there is one trait inherent to all who choose to take up photography…patience. Often when looking at photos shot by others, we view it as if they just stumbled onto the scene, pressed the shutter before continuing on their way. This probably happens 0.000001% of the time. Travel photographers devoted to capturing the best or even just better photos will often wait minutes, hours, days, weeks and even sometimes years before they capture the one they’re happy with. A question we often get is how we are able to capture photos without anyone else in them, there are a number of techniques you can use to achieve this but the one we fall back on time and time again is to just be patient. Keep waiting until there is no one else in the frame. It might happen for just a split second and you just have to be ready for that moment.
5. Try another angle
Probably the quickest and easiest way to improve your travel photos is to try a different angle. Try getting low to the ground or raise your camera up above your head for different perspectives – you’ll be surprised how vastly different your images will turn out. If you’re not sure which angle is best, then try them all – you can always just pick one when you’re back at home.
6. Learn the rules and then break them
If you’re just getting started with photography then you’ll want to familiarise yourself with photography compositional rules like the rule of thirds, leading lines, framing and fill the frame – these are all great techniques which will help you get started in understanding what is visually appealing.
Those that already understand the rules and already apply the techniques, we want you to break them but don’t forget them. Sounds counterproductive, but by intentionally breaking the rules you will create something different and unique to the majority of photographers. If you’re not enjoying the result of breaking the rules then go back to them but allow yourself creative freedom to produce the images you imagine even if it goes against the grain.
7. Post-processing
This is such a touchy subject for many photographers but we honestly don’t understand why. Photography is a form of art and post-processing is just a way of expressing an image the way you want it to be. Those who oppose post processing often say that it skews reality. This is true if you push it too far but often post-processing is required to amend a photo back to how you really saw and experienced personally. Camera technology just isn’t there yet when it comes to replicating the dynamic range, sharpness and colours of our own eyes. Here’s something to ponder, if you’re taking photos in JPEG, you are essentially post-processing your images as your camera automatically applies sharpening, saturation and other fine adjustments before you view the image. So why not take control of the post-processing yourself and adjust it exactly to your own liking?
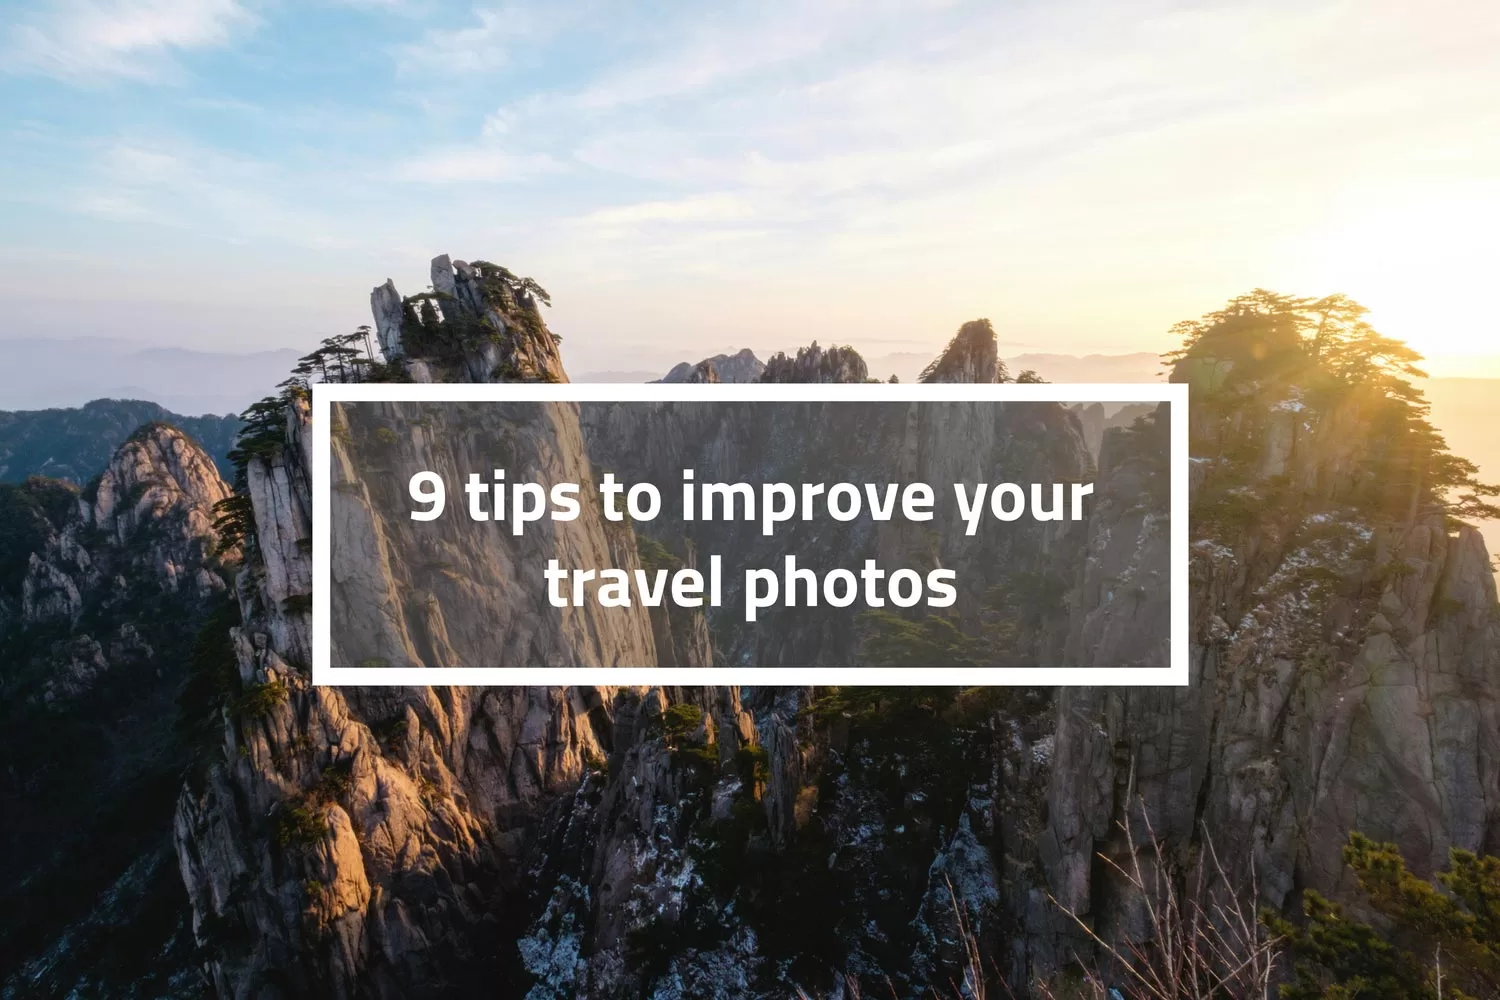
8. Shoot, learn, shoot, learn, shoot, learn, shoot, learn…
We were recently asked by a close friend what we would have done differently if we started our photography journey again. Our answer, nothing. This is not to say we did things perfectly, but each mistake and terrible photo was a learning experience which has crafted our photography skills and style.
If you’re finding your photos have made little improvement over time – don’t be disheartened. It takes a lot of time. We’ve only started being happy with our own work and that’s after three years of continuously shooting – and we still think we have a long way to go.
Also, it’s common for people to compare the thousands of photos they’ve taken (good and bad, but typically the bad) to someone else’s Instagram feed – please don’t. What you need to understand is that most people only post their very best work, you don’t see the thousands of photos they’ve taken to achieve that one shot.
9. Enjoy it!
We left this last because it was the most important step for us in becoming better travel photographers. Despite how much we sucked at the start (scroll to the bottom of our Instagram feed and you’ll see), we still loved the process of going out, exploring and taking photos. It didn’t matter how many likes we got on Instagram, nor did it matter whether it was just our mums following our journey – it was so much fun just doing it. This was the fuel to our progress.
We hope these 9 tips will be useful for your next trip. Make sure to follow us on Instagram as we continue to provide more tips on there!
 Hello, we’re Eric and Sarah – a couple of travel photographers and creatives from the UK.